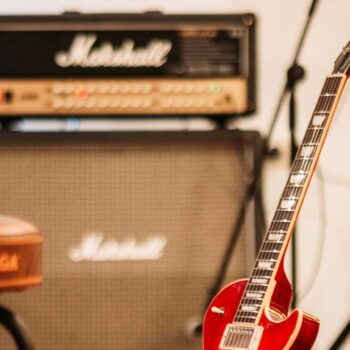
Designing an effective vocal booth is crucial for any recording studio. The vocal booth is where singers deliver their performances, and its design directly impacts the clarity and quality of the recordings. Proper dimensions, acoustic treatment, and layout all play a significant role in achieving optimal sound. In this comprehensive guide, we’ll explore the ideal dimensions for a recording studio vocal booth, discuss the factors that influence these dimensions, and provide practical tips for creating a high-performance recording environment.
Why Vocal Booth Dimensions Matter?
The Role of the Vocal Booth
A vocal booth is designed to provide a controlled environment where vocal performances can be captured with minimal interference from external noise and reflections. Proper dimensions help manage the acoustic characteristics of the booth, ensuring that the vocals are recorded with clarity and without unwanted coloration.
Acoustic Challenges
When designing a vocal booth, several acoustic challenges need to be addressed:
- Reverberation: Excessive reverberation can make vocals sound muddy or indistinct. Proper treatment helps to control this.
- Standing Waves: These occur when sound waves reflect between parallel surfaces, causing certain frequencies to be exaggerated or diminished.
- Flutter Echoes: High-frequency reflections between parallel surfaces can create unwanted echoes.
- Isolation: Ensuring that the vocal booth isolates sound from outside the booth is crucial for high-quality recordings.
Ideal Dimensions for a Vocal Booth
Recommended Room Ratios
The dimensions of a vocal booth are critical for managing acoustic issues and ensuring a clean recording environment. Ideal dimensions often follow certain ratios to avoid problematic acoustic phenomena:
- The Golden Ratio: This ratio is approximately 1:1.618. For example, if the width of the booth is 5 feet, the length would be about 8 feet, and the height would be 3.1 feet. This ratio helps in distributing sound more evenly and reducing standing waves.
- The 1:1.4:1.9 Ratio: This is a practical ratio for small spaces. If the booth is 4 feet wide, it would be approximately 5.6 feet long and 7.6 feet high. This configuration helps balance acoustic issues and ensures a more controlled environment.
- The 1:1.5:2 Ratio: For example, if the booth is 5 feet wide, the length would be 7.5 feet, and the height would be 10 feet. This ratio provides a good balance between space and acoustic control.
Practical Dimensions
In addition to ratios, practical dimensions are essential for creating an effective vocal booth:
- Width: 4 to 8 feet. A width of around 6 feet is often ideal, providing enough space for the vocalist and necessary equipment while maintaining manageable acoustics.
- Length: 5 to 10 feet. A length of 7 to 8 feet is common, offering ample space for recording without making the booth too large to treat effectively.
- Height: 6 to 10 feet. A height of 8 feet is generally recommended. Higher ceilings can help manage low-frequency buildup but should be balanced with practical space considerations.
Acoustic Treatment and Design
Acoustic Treatment
Effective acoustic treatment is essential to control sound reflections and ensure a clear recording:
- Absorption: Use high-density foam panels, fiberglass, or mineral wool to manage reflections and control reverberation. Place absorptive materials on walls and ceilings to minimize echoes and improve sound clarity.
- Diffusion: While not always necessary in a small vocal booth, diffusers can help scatter sound waves and reduce unwanted reflections. They are typically used in larger spaces or on specific surfaces.
- Bass Traps: Bass traps can help control low-frequency buildup, especially in corners. In a small vocal booth, focus on managing low-frequency reflections with strategically placed traps.
Booth Shape and Design
The shape of the vocal booth can influence its acoustic properties:
- Rectangular Booths: Traditional rectangular shapes are often used for simplicity and ease of treatment. Ensure that parallel surfaces are treated to prevent standing waves and flutter echoes.
- Non-Parallel Walls: Angled or staggered walls can help diffuse sound and minimize acoustic problems. This design can be more complex but may offer better sound quality.
- Ceiling Design: Consider sloping or angled ceilings to avoid reflections that can affect vocal recordings.
Layout and Equipment Placement
The layout within the vocal booth affects both comfort and sound quality:
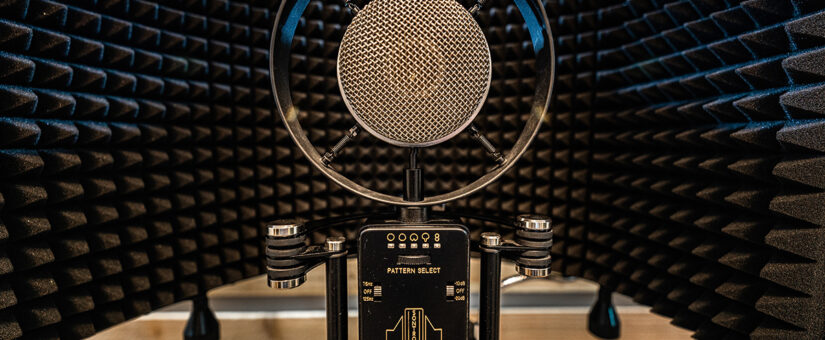
- Microphone Placement: Position the microphone at a height and distance that is comfortable for the vocalist and optimizes sound capture. Use a pop filter to reduce plosives and ensure clear recordings.
- Space for Movement: Ensure there is enough space for the vocalist to move comfortably. This helps prevent distractions and allows for natural performance.
- Recording Equipment: Position equipment such as headphones and control panels in a way that is accessible but does not interfere with the recording process.
Additional Considerations
Acoustic Isolation
Isolation is crucial to prevent external noise from entering the vocal booth and affecting recordings. Consider the following:
- Soundproofing Materials: Use materials like acoustic panels, isolation pads, and heavy curtains to block external noise.
- Sealed Doors and Windows: Ensure that doors and windows are properly sealed to prevent sound leakage.
- Floating Floors: For optimal isolation, consider using floating floors or isolation pads to reduce vibrations and sound transmission.
Budget and Space Constraints
The size and design of the vocal booth should balance ideal dimensions with budget and space constraints. Even if you cannot achieve the perfect dimensions, proper acoustic treatment and thoughtful design can still result in a high-quality recording environment.
Flexibility and Versatility
Design the vocal booth to be versatile and adaptable for different recording scenarios. Adjustable acoustic treatments and modular designs can help accommodate various recording needs.
Conclusion
The dimensions of a recording studio vocal booth are crucial for achieving high-quality vocal recordings. By adhering to recommended ratios, considering practical dimensions, and incorporating effective acoustic treatments, you can create a space that enhances the clarity and quality of vocal performances. Whether you’re setting up a professional studio or a home recording space, focusing on these aspects will help you achieve the best possible results.
By focusing on these dimensions and implementing effective acoustic solutions, you can create a vocal booth that provides a controlled and high-quality recording environment, ensuring the best possible results for any vocal performance.
- On 09/21/2024